Configure static IP address using Netplan with Cloud-init in Ubuntu for Raspberry Pi


I am in the process of setting up a Raspberry Pi to use as a reverse proxy. For this purpose I figured that a simple Raspberry Pi would be more than sufficient. I am a big fan of Ubuntu so I tend to come back to that whenever I want to run Linux. Luckily for me Ubuntu has an official image for Raspberry Pi's.
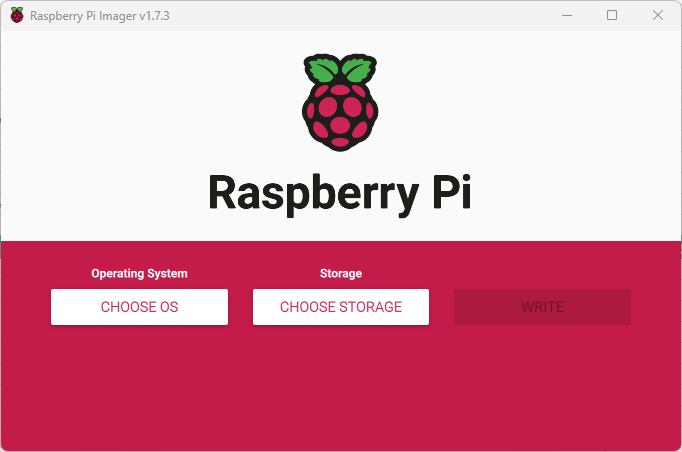
I am not that familiar with the image Ubuntu for Raspberry Pi, but I thought I would give it a go. I thought everything was like back in the days when I actually had to set up the Raspberry Pi to a monitor and configure everything manually. To my big surprise Raspberry Pi has released an Imager in order to make the deployment very easy. With this little sweet tool, you may download all of the most common images and with them set up the hostname, SSH, admin credentials and locale settings automatically when formatting the SD card.
Everything went really smoothly and I was up and running with the Raspberry Pi in less than an hour. Obviously, the first thing I wanted to do was to set a static IP address. This sounds like a very easy process, right? ... Not so much.
Apparently with the Ubuntu for Raspberry Pi image they have included cloud-init. Cloud-init is a smart little application which configures SSH keys, storages and networking etc. automatically when a machine is provisioned. All of the major cloud companies use this technology or a variant of this technology. I understand why this is beneficial in a cloud environment, but why include it in the Ubuntu for Raspberry image? Well, basically the Raspberry Pi Imager is using the same technique to provision the settings during boot. Pretty smart!
So in the Raspberry Pi Imager it's only possible to configure the WiFi settings. However, I am not using WiFi so this is not applicable to me. After starting the server I wanted to configure a static IP address with Netplan. With the standard image of Ubuntu Server it's just to configure the .yaml located in /etc/netplan/. This is usually not read-only and it's just to update. However, when browsing to /etc/netplan/ I found a file I haven't seen before - 50-cloud-init.yaml. Looking at the file I was faced with the following information:
# This file is generated from information provided by
# the datasource.  Changes to it will not persist across an instance.
# To disable cloud-init's network configuration capabilities, write a file
# /etc/cloud/cloud.cfg.d/99-disable-network-config.cfg with the following:
# network: {config: disabled}
network:
  version: 2
  ethernets:
    eth0:
      dhcp4: yes
Okay, so I probably shouldn't touch this file. Actually, it's probably never a good idea to edit or configure files created by the system. I didn't really want to disable the cloud-init's configuration capabilities. Actually, I didn't want to touch cloud-init at all. I have very limited knowledge of how cloud-init actually work behind the scenes and the consequences of messing with it too much could be fatal.
Naturally turning to Google and there were all kinds of answers to just edit the 50-cloud-init.yaml, disable cloud-init or actually uninstall cloud-init it all together. Well, that's not what I want to do. If Ubuntu put it here, then it's probably for a reason. Turns out that so many people on the Internet are wrong. Actually, it seems like no one actually understands how to configure the IP address correctly without deleting or editing files.
Now, being the creative person, I naturally turned to Netplan for answers and I found in their configuration example the following:
To configure netplan, save configuration files under /etc/netplan/ with a .yaml extension (e.g. /etc/netplan/config.yaml), then run sudo netplan apply. This command parses and applies the configuration to the system. Configuration written to disk under /etc/netplan/ will persist between reboots.
Great! So all we need to do is just to add a new file and then reboot the server? Well, yes and no. Netplan is loading the configuration files in lexicographically order. This means that the configuration files with names that start like 1-network process before 2-network. So what does this mean? It means that we need to add a new configuration file with a value higher than 50 (remember 50-cloud-init.yaml?) so it loads after the standard configuration file.
Also, Netplan calculates the complete configuration based on all of these files and renders it for passing to the backend. Netplan reads the configuration from one file, applies the config and then moves on to the next file. Because any of the other configuration files might contain settings that modify the configuration of the interfaces listed in our file, Netplan always loads all the files together, but with the highest number last.
Going back to the configuration in 50-cloud-init.yaml we can see that DHCP is enabled by the configuration dhcp4: yes. The first thing we want to do is therefore to disable DHCP with dhcp4: no. Otherwise we would end up with two IP addresses on the same NIC and that wouldn't make any sense. After that we want to add the IP address (addresses), DNS (nameservers) and gateway (routes) to static entries. So how do we do this? Log in to your Raspberry Pi with SSH and create a new file in /etc/netplan/using nano. I want my configuration file to load last therefore I give it a high number (99).
sudo nano "/etc/netplan/99-custom-network.yaml"
Add the below into the file.
network:
  version: 2
  renderer: networkd
  ethernets:
    eth0:
      dhcp4: no
      addresses:
        - 10.200.100.11/22
      nameservers:
        search: [example.com]
        addresses: [10.200.0.1]
      routes:
        - to: default
          via: 10.200.100.1
The first thing you may want to edit is the eth0:. This should be configured to your NIC name (if you don't know how just type ip addressin SSH and check the NIC name). You may want to consider using Network Manager as the renderer. A basic concept is that Ubuntu Desktop OS use NetworkManager and Ubuntu Server OS use networkd. Note that you also have to change the IP address (addresses), DNS (nameservers) and the routes (gateway) to your network configuration.You may also look at the examples from Netplan.
Copy the configuration you've typed and put it into a YAML validator. Just to verify that the YAML is valid. If everything is OK, save the file (CTRL + X). All we need to do now is to apply the new configuration. However, I like to also use the --debug tag just to verify that the YAML file is indeed correct.
sudo netplan --debug apply
Reboot the server and it should now have a static IP address which is also saved between reboots and upgrades.